ledtoshare
Faith, Food and frompancaketopeach
Train with me
Instagram
Dinner
February 21, 2018
My Homemade Chinese Book is About to Come Out, and YOU Could Win It!
February 1, 2018
Chicken with Pepper Sauce
December 13, 2017
Thanksgiving Dinner Zucchini Boats
November 20, 2017
Balsamic-Glazed Pork Chops with Shallots
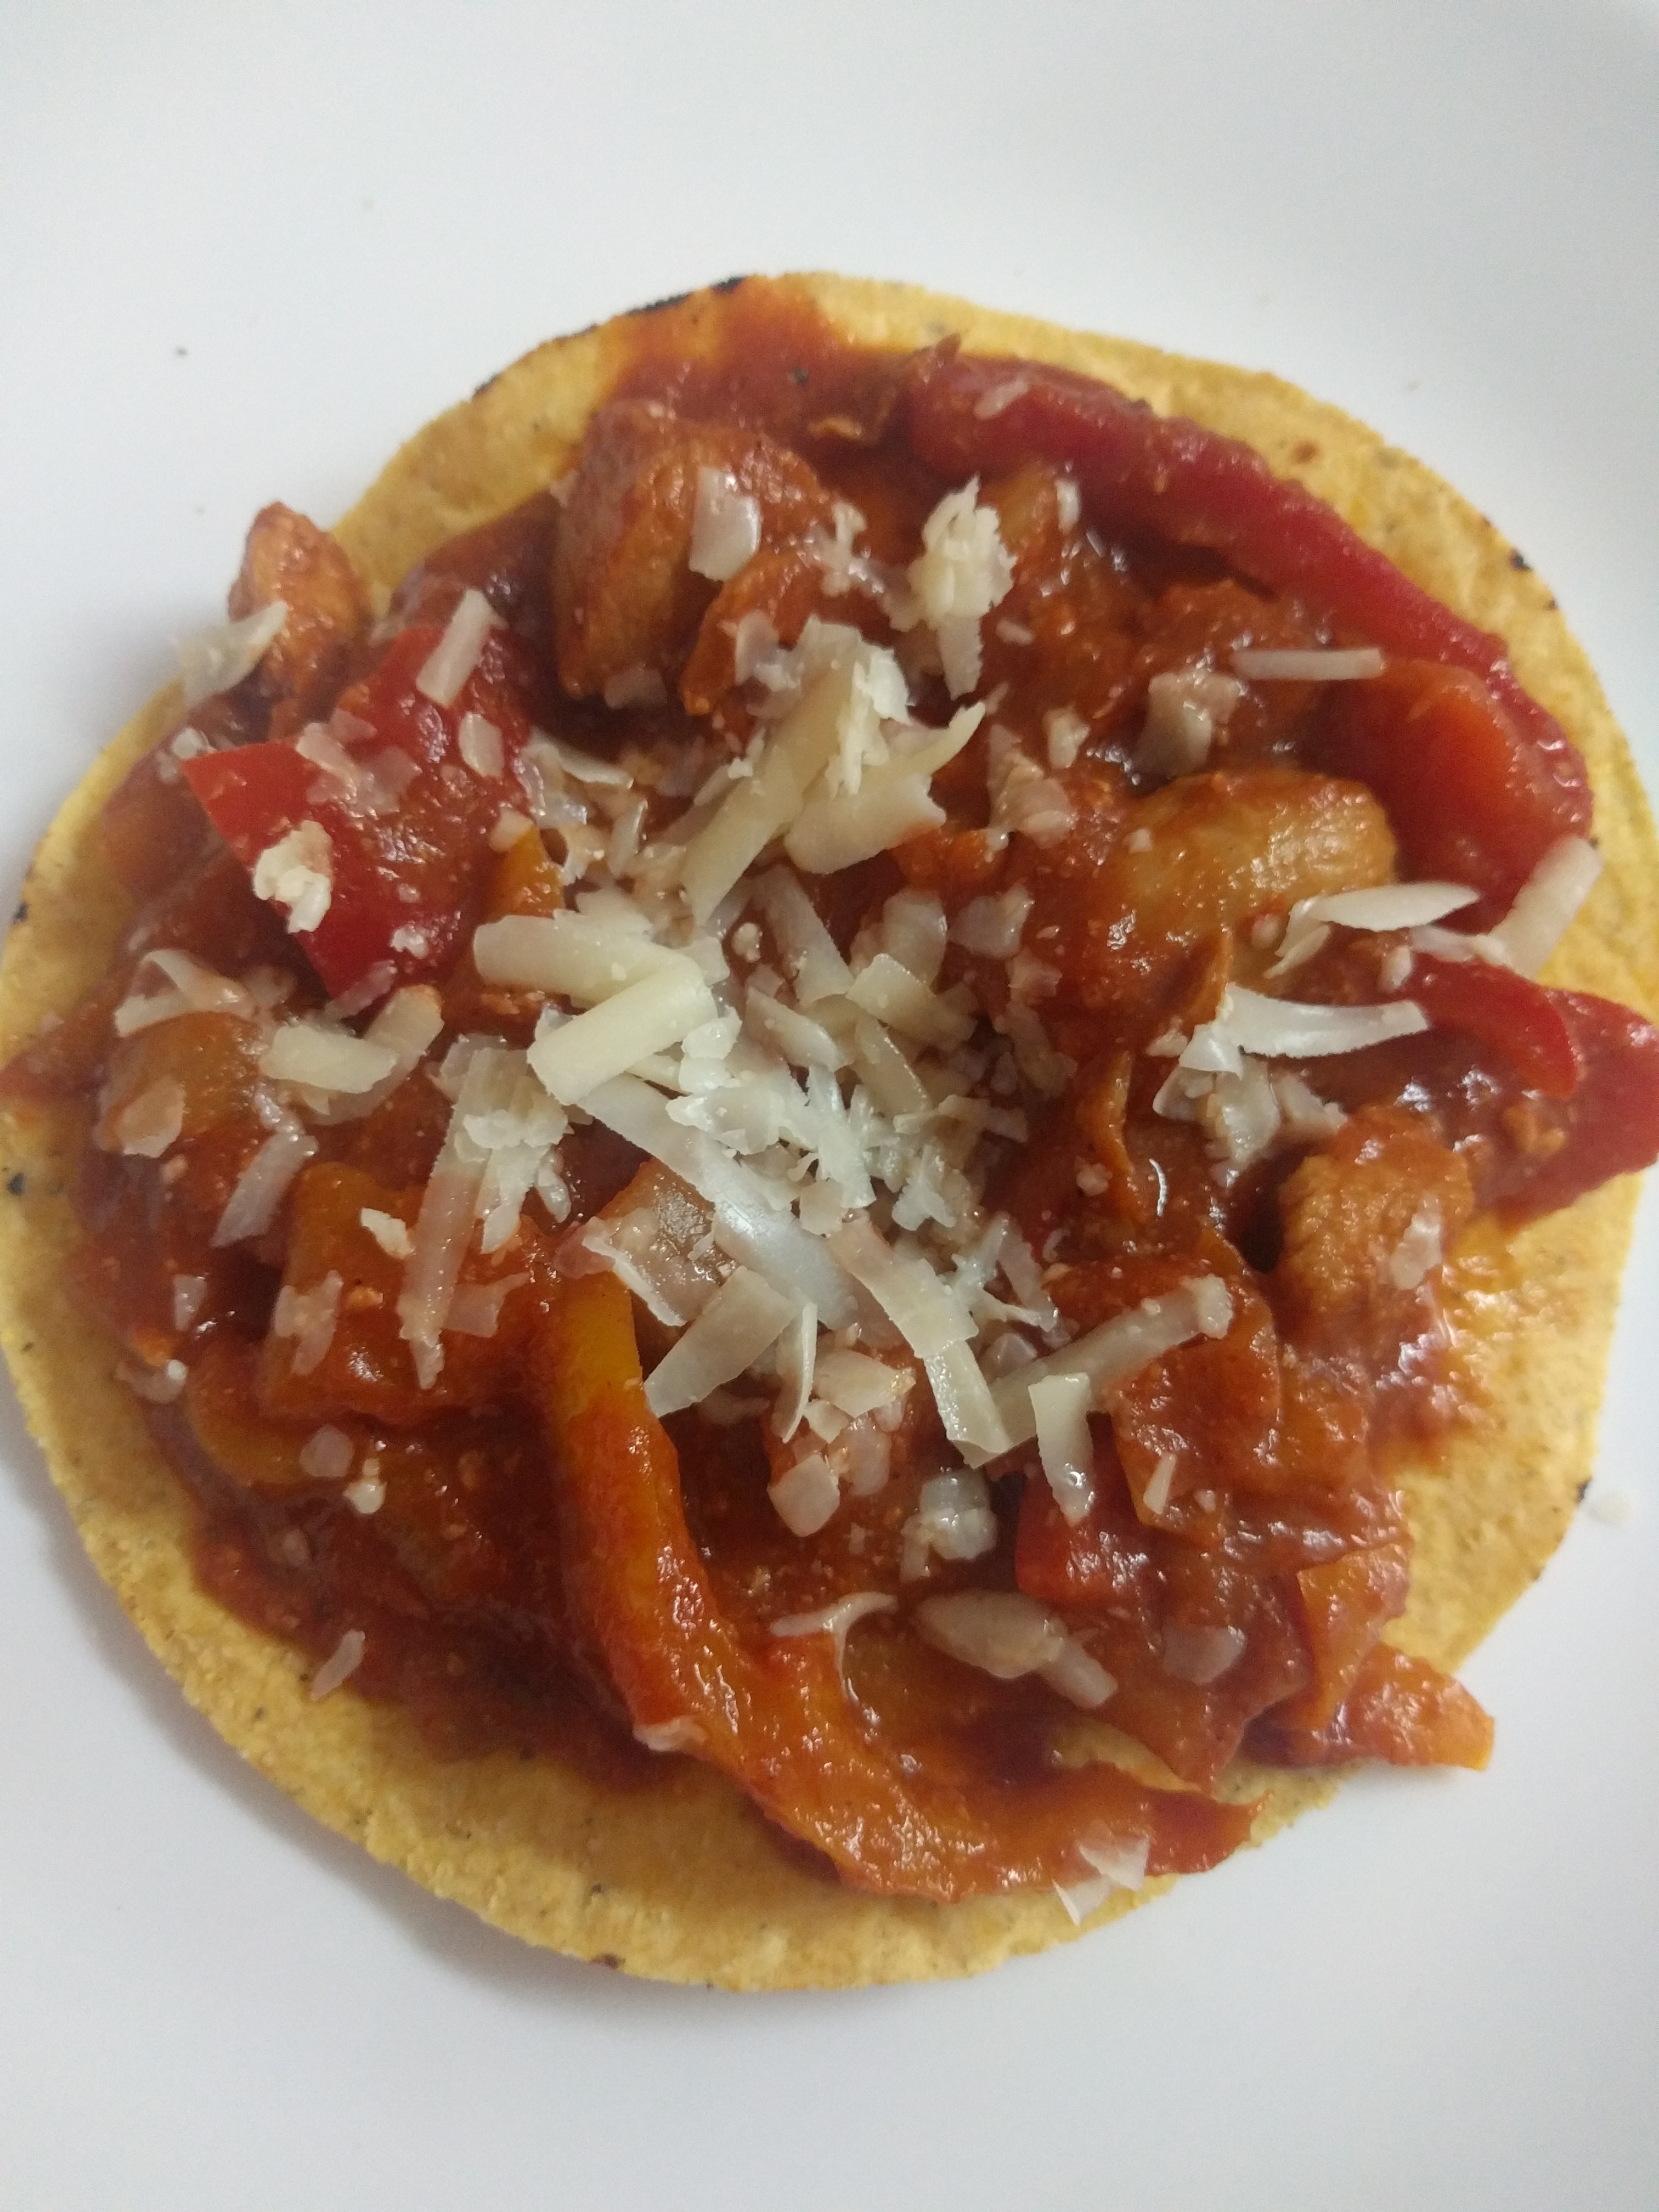
November 16, 2017
Crock pot BBQ Chicken Tostadas
November 14, 2017
Spaghetti Squash Spaghetti Dinner
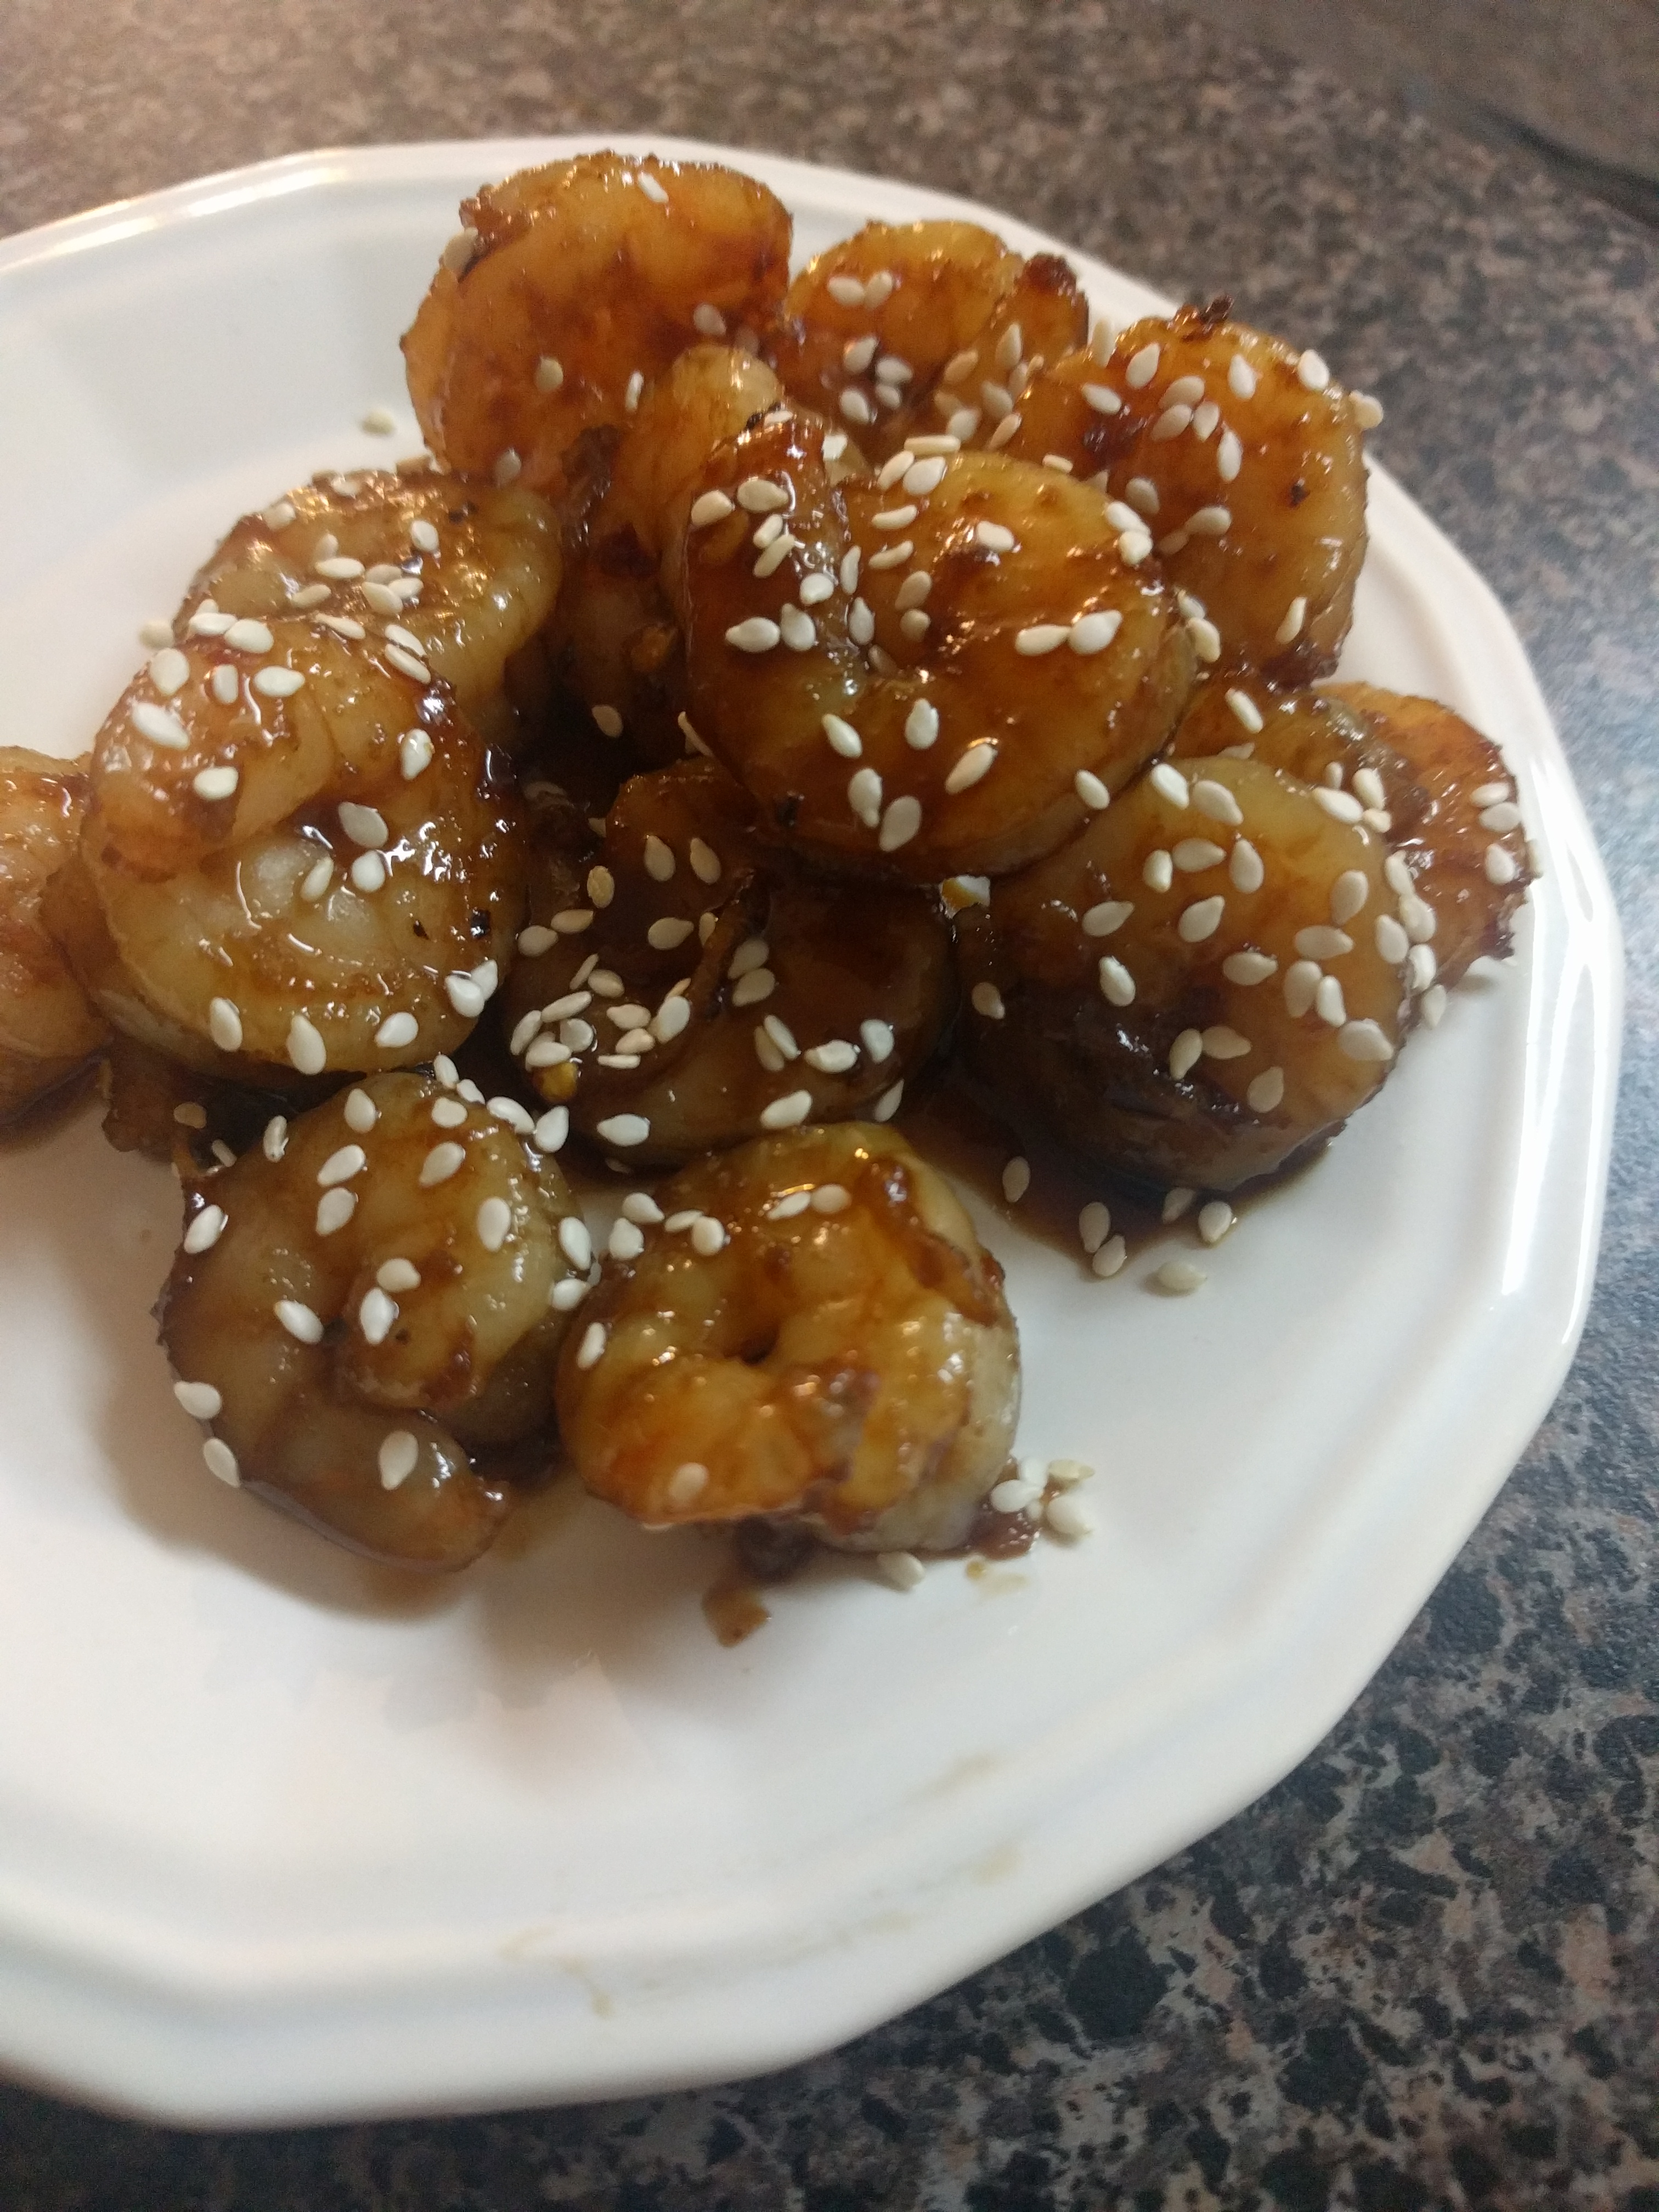
October 23, 2017
Chinese Food: Homemade Teriyaki Shrimps
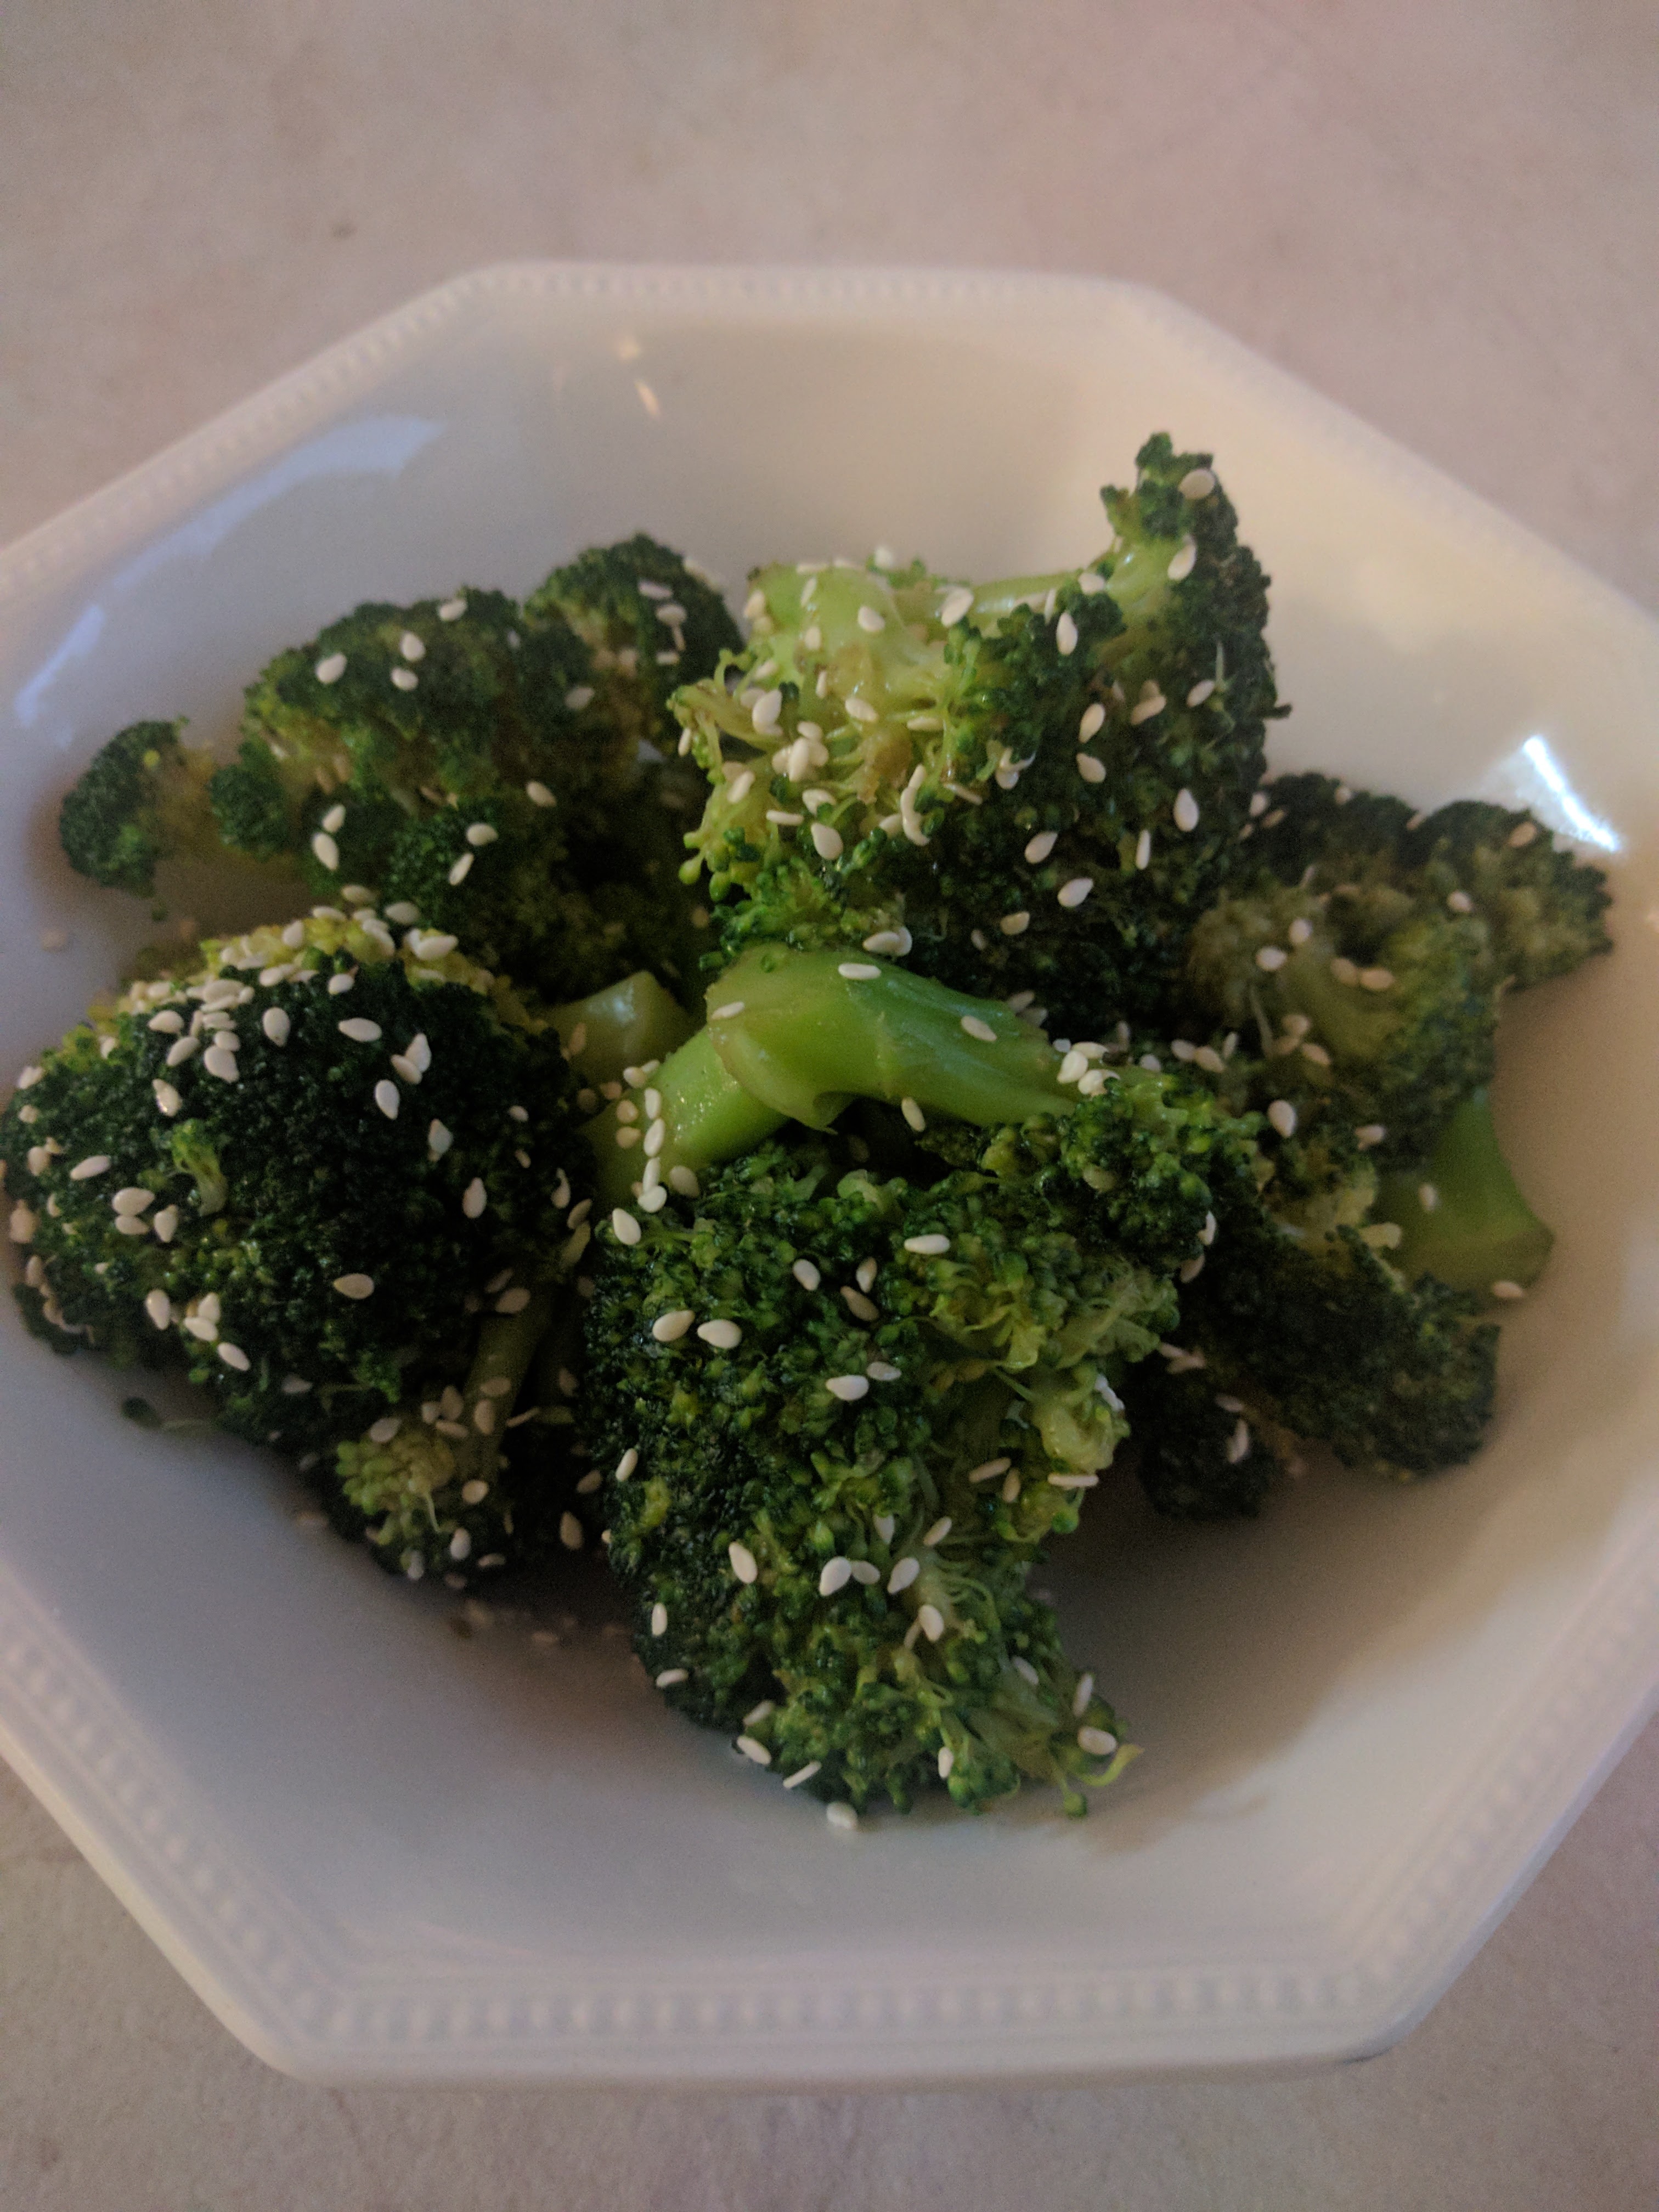
August 27, 2017
Broccoli with Sesame Dressing
August 19, 2017
Sauteed, and Sliced Zucchini, Onion, and Mushroom
July 19, 2017
How To In the Kitchen: Roasted Garlic
←
Previous Page
Next Page
→
Loading Comments...
Write a Comment...
Email (Required)
Name (Required)
Website